

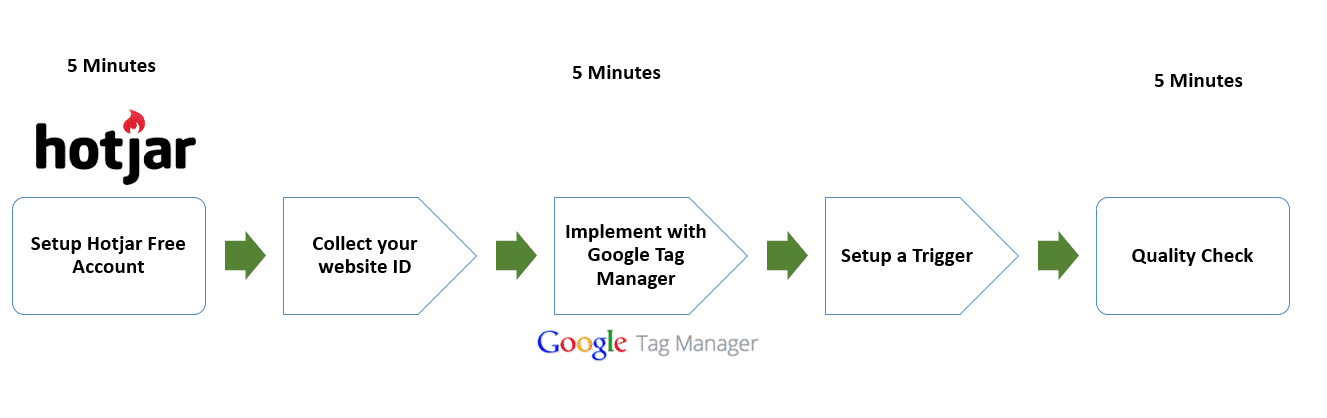
Installing Hotjar has just gotten better and easier with a native template. Previously, you had to install this script with a custom HTML tag in Google Tag Manager. The this can done in 4 easy steps in three phases. Take a look at the diagram below in order to see how to set this up.
Step 1: Setup your Hotjar account.
Obviously, if you have a Hotjar account, this step will be simplified. However, you still will need to setup your website. Click add a new website and complete the form. At the end of the registration, you will be awarded with a unique website ID. This will be used to plug into the Hotjar tag template in Google Tag Manager.
Get a Free Hotjar Account with all the features. You will be limit to 2000 page views monthly.

Step 2: Setup up Hotjar Google Tag Manager Template.
Now there is a native template for Hotjar. So, the implementation is much easier than before. Follow the steps Below:
- Click Tags.
- Choose New.
- Click the Tag Configuration and choose and select Hotjar.
- In the Hotjar Tag Configuration window, enter your site ID.
- Click the Triggering section under, that tag configuration..
- In the Choose a Trigger menu, choose All Pages trigger.
- Make sure you name the trigger and Save.

Step 3: Google Tag Manager Quality Check
- After saving the tag, click Preview Mode.
- Load your website.
- In the Debug Console, check to see that your Hotjar Tag is firing on page view.


Step 4: Check the Hotjar Installation
- In Hotjar you can see if your tag correctly installed by clicking the the website profile.
- In the far right corner, you can see an green icon with Tracking Active sign.
- Click this and chose to view the code. In the window, you can verify code by placing your website URL.

The final step would be to receive the final confirmation

Visit Hotjar documentation pages for more help.